Photoshop is for photos, right? Wrong… Kind of.
Photoshop is great for many things like making mockups and manipulating photos, but when it comes to image enhancements, you might want to consider a much better program that’s built for that sort of thing. That program is called Lightroom, and you should start using it now. Keep reading to learn how to use the program, how to start your journey in image correction and enhancements and learning how to use presets.
New to Lightroom? Check out all of these design basics you NEED to know: Click To Tweet
Did you know Photoshop is even considered bad practice when it comes to web design?
Understanding Lightroom
Lightroom is an amazing non-destructive photo editing program that uses cataloging to locate and store your photos. Let’s get started. When you open up Lightroom for the first time, you’re going to be overwhelmed. That’s okay. It’s important to understand how Lightroom works, so get yourself familiar with the program layout by taking 10 minutes to watch this quick video.
Don’t worry about editing any photos along with the video, just watch to get familiar with the program and toolbars — I’ll show you some techniques later on in this article. Now that you’re familiar with the program, we’re going to move to image enhancements and color correction.
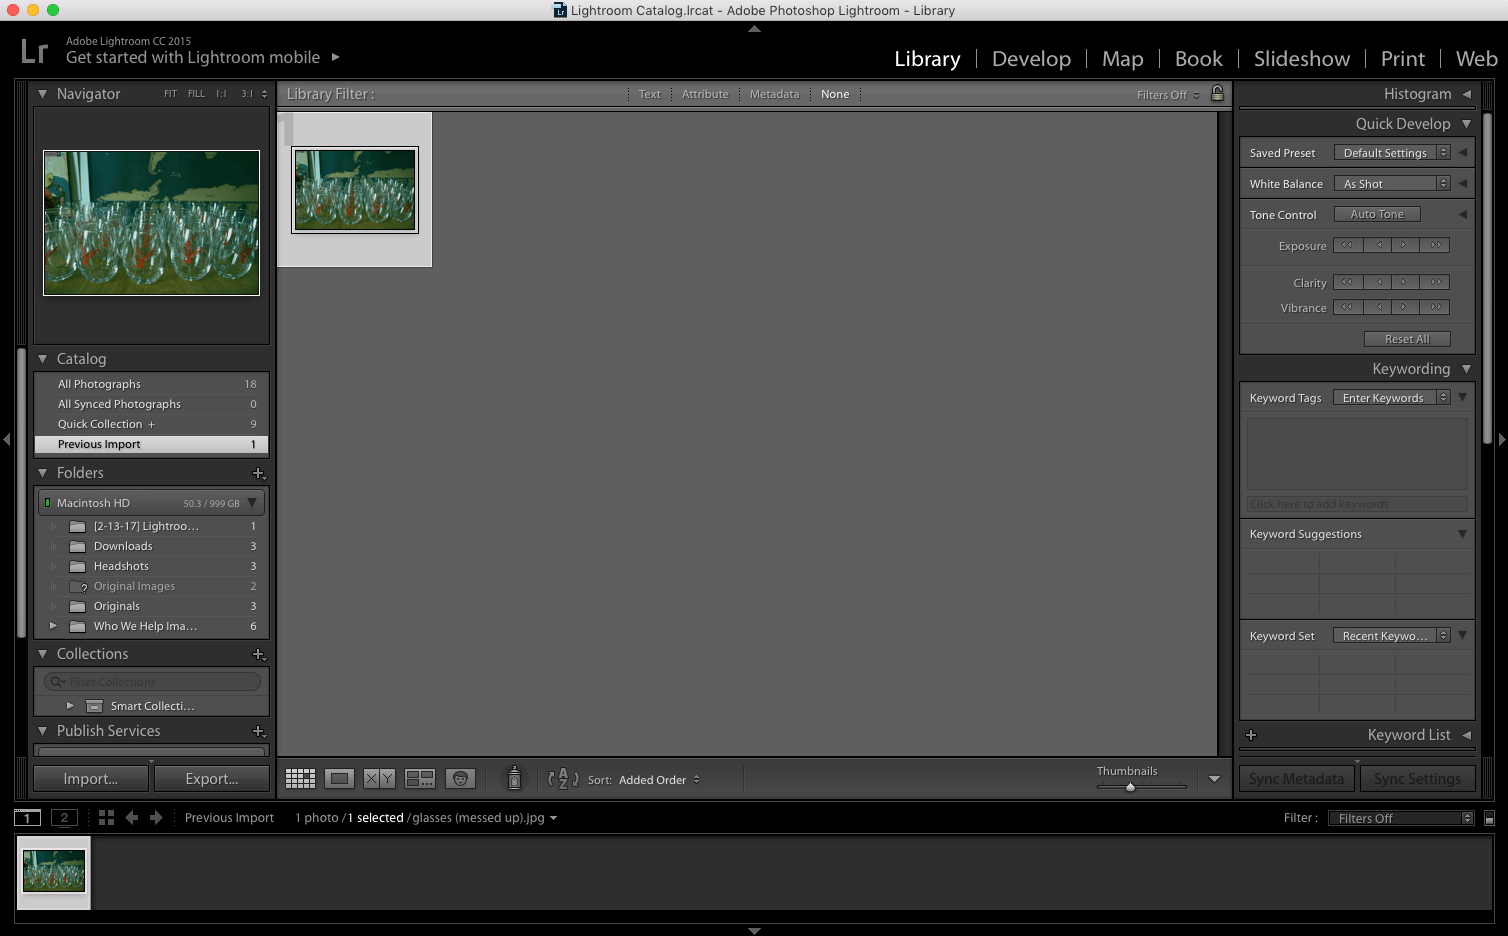
Image Enhancement & Correction Basics
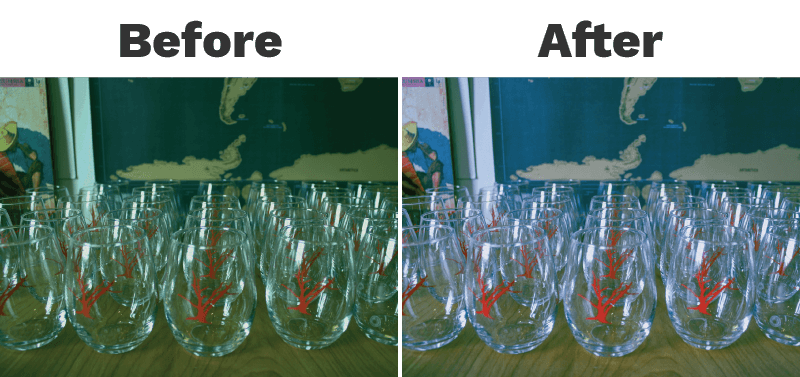
Image enhancements and color correction is a skill that’s developed over time. Like your “design-eye,” I call this a “photography-eye.” When you enter Develop mode, you’ll see tons of options to develop your photo on the right panel. Your first two adjust color balance, and this is the part that will take the most of your photography-eye. In my image above of the Red Branch Media wine glasses, you’ll notice that the original photo was dark and had a green tint over it. To begin fixing this, I started by moving the temperature bar (blues and yellows) more towards blue and moved the tint bar (greens and magentas) towards the magenta to balance out the colors.
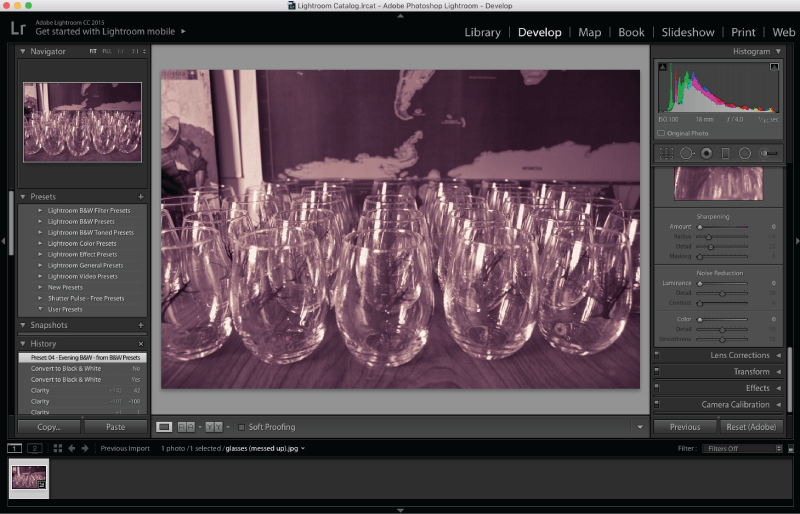
After your color balance is set, all that’s left is tweaking! Get familiar with the other adjustments in the right panel by moving the bars to see how they work with your photo. Exposure is pretty much the image brightness while contrast is the depth of color. The highlights, shadows, whites and blacks are additional tweaks that are best explained by experience. Move them as needed in your photo, but they are basically more detailed exposure and contrast adjustments.
Finally, you’ll get to the last section of settings which are Clarity, Vibrance and Saturation. Vibrance and saturation work by adding and subtracting more color to your photo, while clarity controls the sharpness of your photo – making your image blurry or incredibly sharp.
These are all the settings you’ll need before exporting your photo, but if you’d like you can work in the advanced settings below. These settings include curves, modifying curves, advanced color balance, converting to black & white, split toning, details, lens corrections, transform and effects and camera calibration. While I don’t particularly use them, they are definitely tools you can start to experiment with to enhance your photos once you master the basics.
Want to get started in advanced settings now by learning the first setting called “Curves?” Here’s how!
Presets & Lightroom Mobile
If you haven’t noticed by now, editing photos can be a timely thing if you want them to be perfect. What if you don’t have much time to spare or you’re on the go? Introducing presets and Lightroom Mobile.
“If you’re looking for a tool to help you batch image edits and speed the process along, turn to the presets feature of Adobe Lightroom.” – Lisa Tanner on the Flywheel blog, “The Layout” (@lisatannerwrite)
Presets are pre-built filters made for Lightroom. Plus, you can find some of them online for FREE! First, get your set of 8 free collections from Flywheel. Now that you’ve got them downloaded, unzip the file and open up Lightroom. Click on Lightroom from the top menu bar and click Preferences. From here, click on the Presets tab and hit the “Show Lightroom Presets Folder…” button.
From this window, double click on the Develop folder, then double click on the Develop Presets folder. Now, simply drag the unzipped preset folder you downloaded into here and you’re good to go!
Restart Lightroom and you’ll see your new preset folder on the left panel under Presets. To apply this to your photo, simply load the photo in Lightroom, click Develop, find your preset and click on it to apply it to your photo. It’s as easy as that.
Lightroom Mobile is also a great tool. While it can’t replace Lightroom, it’s a great app to use on your phone or tablet that has familiar developing tools from Lightroom so you can quickly edit photos on the go to send to your client, yourself or to have fun with when you’re without your computer. Learn how to use Lightroom Mobile, here!
Lightroom is an incredibly powerful tool. Don’t be tempted to revert back to Photoshop when you have images to edit. Instead, utilize Lightroom to its full potential to make images that are thousands of times better than Photoshop. If you’re out of time, hop on Lightroom mobile or use presets. As long as you make a habit to keep practicing in Lightroom, your “photography-eye” will get better! Now go out there and make awesome photos.

Related Posts
 6 Minute Read
Awesome Illustrator Tools to Use in 2023
10 Minute ReadHow to Make the Best InDesign eBook Template for Your Company
14 Minute Read